上文在抓取微信公众号文章阅读数的时候实现了阅读区域的定位,但是还有一个遗留问题那就是需要获得阅读数。本文使用pytesseract提取其中的阅读数。
目录
本文不会介绍ocr相关的技术,感兴趣的读者可以参考pyimagesearch网站的书籍OCR with OpenCV, Tesseract, and Python,它分为两本:《Intro to OCR》和《Intro to OCR》两部分。
安装Windows版本的tesseract
读者可以去这里下载tesseract的安装程序,作者使用的版本是tesseract-ocr-w32-setup-v4.1.0-elag2019.exe。
由于我们要识别中文,所以记得安装中文模型,简体中文版模型的名字是”Chinese(Simplified)。默认安装位置是“C:\Program Files\Tesseract-OCR”。
安装pytesseract
pip install pytesseract==0.3.7
ocr代码示例
使用pytesseract非常简单:
def ocr(img):
    options = "-l {} --psm {}".format("chi_sim", "7")
    text = pytesseract.image_to_string(img, config=options)
    return text

if __name__ == '__main__':
    text = ocr(Image.open("test-ocr.png"))
    print(text)
我们只需要使用image_to_string函数就行,里面有两个重要参数。一个是语言,这里使用简体中文”chi_sim”;另一个是psm,默认是13,单行模式为7。关于psm和tesseract的更多设置和优化,请参考官方文档或者前面的那两本书。
另外需要我们告诉pytesseract在哪里可以找到tesseract,在imgtool.py导入pytesseract之后加入下面的代码:
import pytesseract
pytesseract.pytesseract.tesseract_cmd = r"C:\Program Files\Tesseract-OCR\tesseract"
定位后进行ocr
有了ocr函数后就很容易了,我们只需要定位到包含阅读的文本块,把它crop出来进行ocr:
def extract_read_count(img_array, debug_fn, bottom, bg_color=None):
    if bg_color is None:
        bg_color = [255, 255, 255]

    height, width = img_array.shape[:2]

    for r in range(bottom-1, bottom-MAX_SEARCH_ROW, -1):
        # 找到第一行非全白背景的行,此行内容是分享
        if not np.all(img_array[r][LEFT_MOST:RIGHT_MOST] == bg_color):
            break
    if debug_fn:
        draw_bbox(img_array, (0, r, width-1, r+1), debug_fn + "-1.png")

    for r2 in range(r-1, r-MAX_SEARCH_ROW, -1):
        if np.all(img_array[r2][LEFT_MOST:RIGHT_MOST] == bg_color):
            break
    if debug_fn:
        draw_bbox(img_array, (0, r2, width - 1, r2 + 1), debug_fn + "-2.png")

    for r3 in range(r2-1, r2-MAX_SEARCH_ROW, -1):
        if not np.all(img_array[r3][LEFT_MOST:RIGHT_MOST] == bg_color):
            break
    if debug_fn:
        draw_bbox(img_array, (0, r3, width - 1, r3 + 1), debug_fn + "-3.png")

    for r4 in range(r3-1, r3-MAX_SEARCH_ROW, -1):
        if np.all(img_array[r4][LEFT_MOST:RIGHT_MOST] == bg_color):
            break
    if debug_fn:
        draw_bbox(img_array, (0, r4, width - 1, r4 + 1), debug_fn + "-4.png")

    read_count_img = Image.fromarray(img_array[r4-5:r3+5, :])
    if debug_fn:
        read_count_img.save(debug_fn + "-5.png")
    text = ocr(read_count_img)
    return _extract_count(text)
这个函数和上文是非常类似的,最终定位到了需要的文本块是从r4到r3行,为了避免数字挨着最上面和最下面,又给上下增加了5个像素。
read_count_img = Image.fromarray(img_array[r4-5:r3+5, :])
抽取文字
识别出来的文字除了阅读数之外还有“阅读”以及可能的其它文本(包括识别的乱码),我们需要用正则表达式抽取数字,另外对于超过1万的数字它是显示为【xxx万】,超过10万的显示为【10万+】,我们需要处理一下:
def _extract_count(s):
    if s is None:
        return -1
    if "阅读" not in s:
        return -1
    try:
        res = re.search('([0-9.]+)万+', s)
        if res:
            return int(10000*float(res.group(1)))
        else:
            res = re.search('([0-9]+)', s)
            return int(res.group(1))
    except:
        return -1
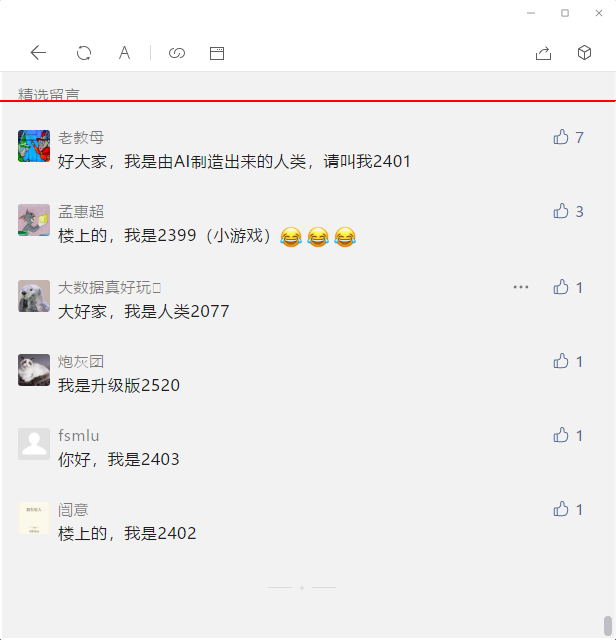
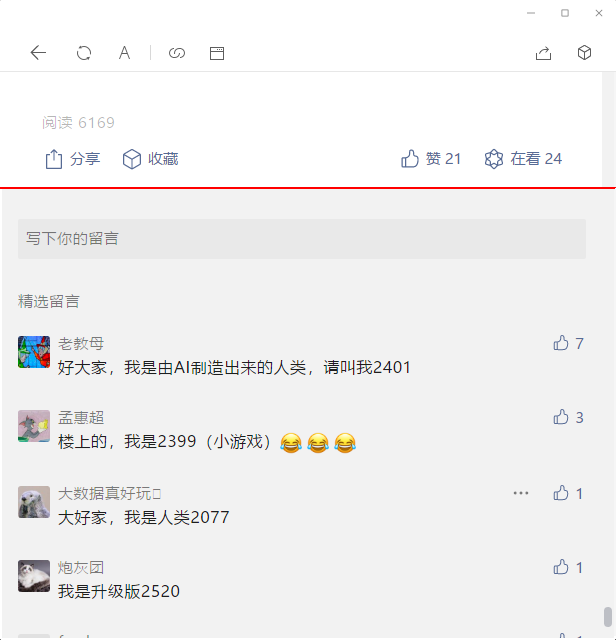
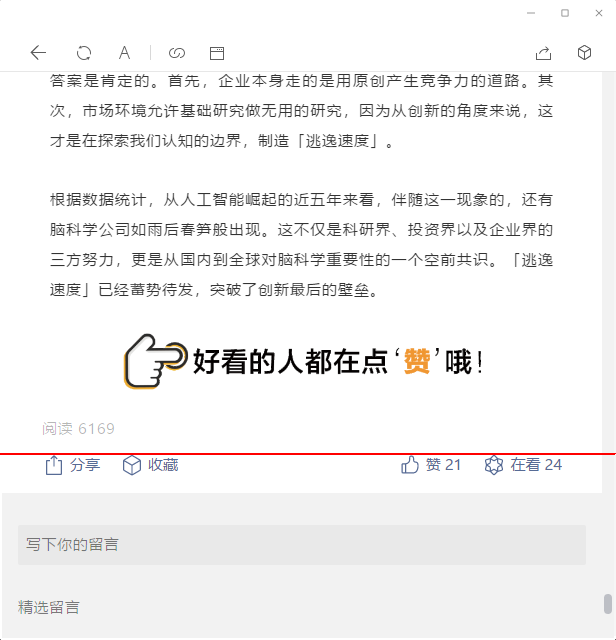
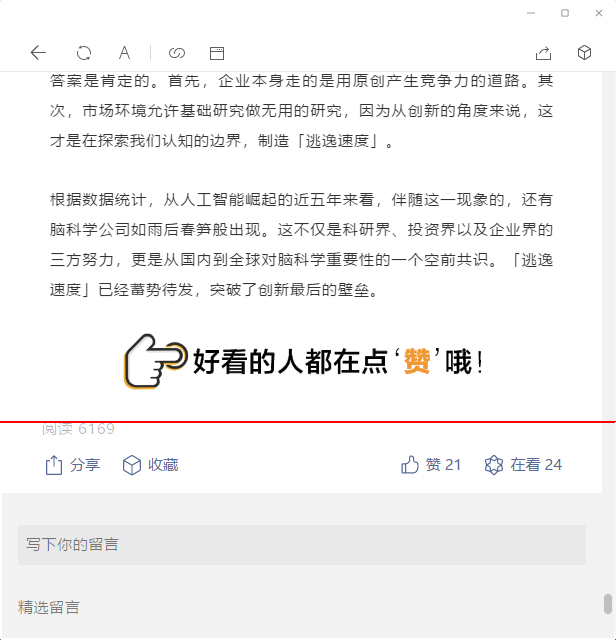
效果
到目前位置,我们已经实现了阅读数的定位和抽取,下面是一个完整的示例。
 粗定位1
粗定位1
 粗定位2
粗定位2
 细定位1
细定位1
 定位分享行的底部
 定位分享行的顶部
 定位阅读行的底部
 定位阅读行的顶部
 ocr的输入
- 显示Disqus评论(需要科学上网)